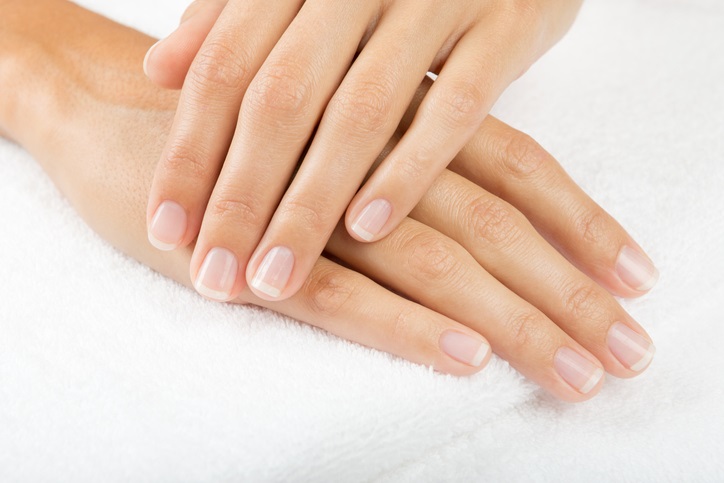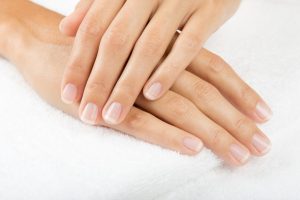

Ever spent ages filing your nails, only to end up with uneven edges, annoying snags, or worse – a cracked nail? Or maybe you love the look of gel or acrylics, but dread the lengthy and sometimes rough removal process? If this sounds familiar, it might be time to meet your new best friend: the nail drill machine.
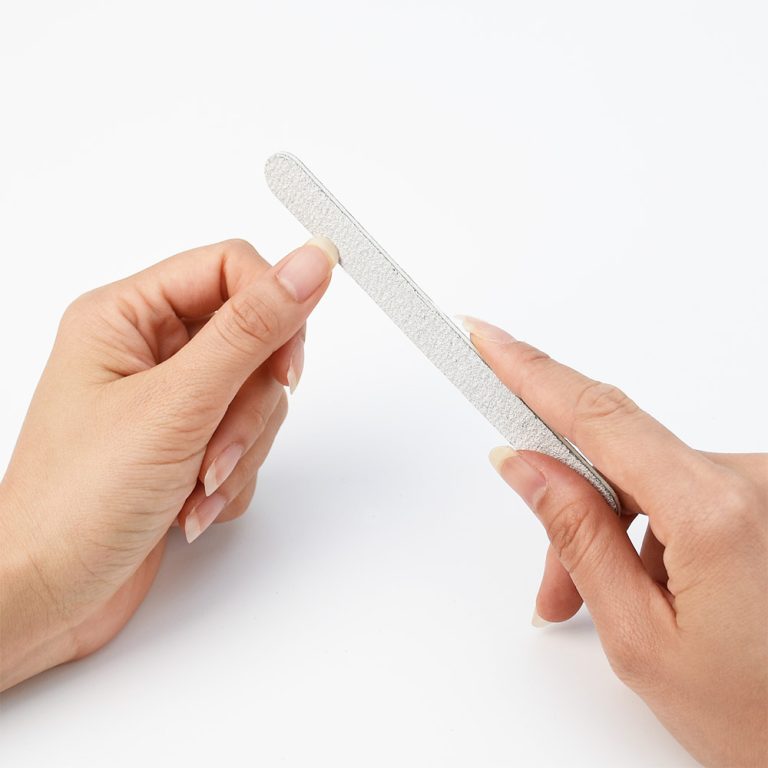
Forget the old-fashioned emery board or metal file. While they have their place for quick touch-ups, professional nail drills (also called electric nail files or e-files) offer a whole new level of precision, efficiency, and results, whether you’re a DIY enthusiast or a pro. Let’s dive into why they’re such a game-changer and who benefits most.
Why Upgrade? Nail Drill Advantages Over Manual Files
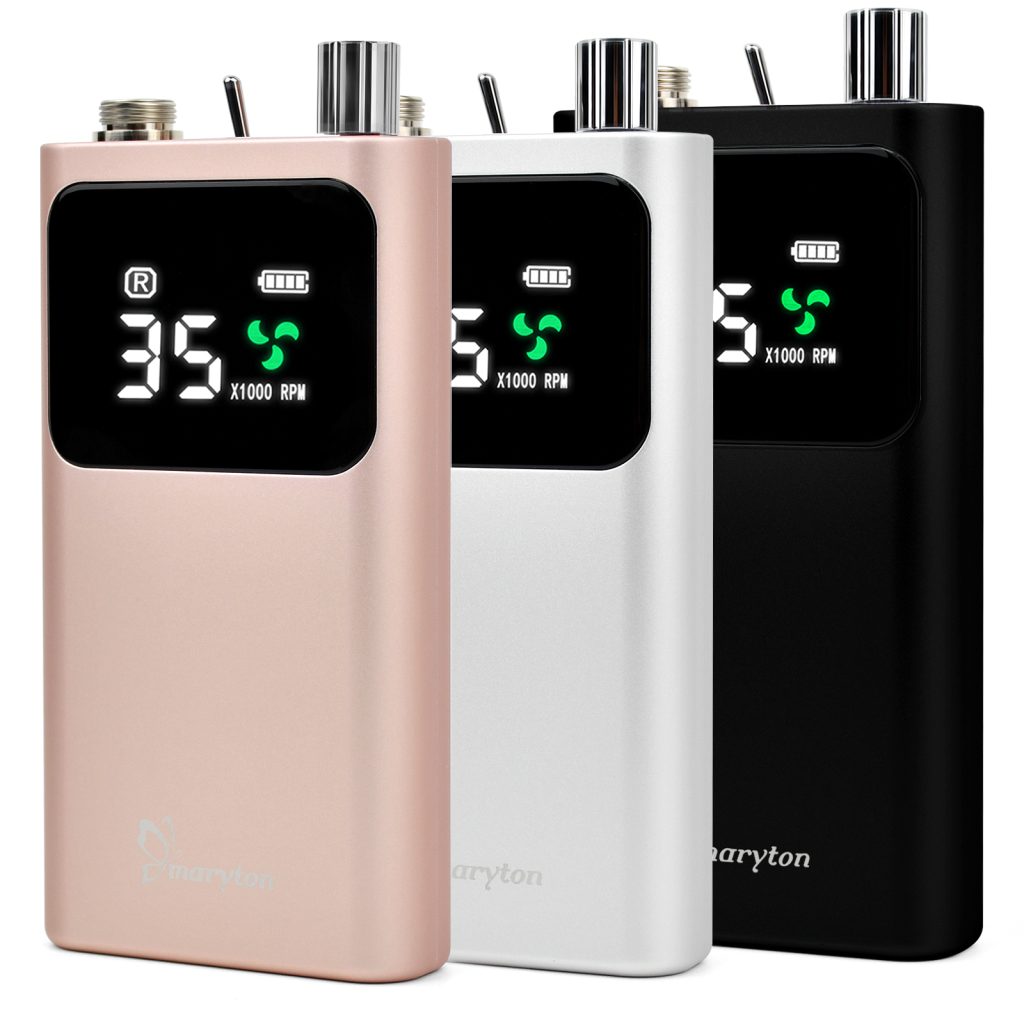
1. Speed & Efficiency: This is the biggest wow factor. A nail drill spins its bits at high speeds (measured in RPM – Revolutions Per Minute). What might take minutes of vigorous manual filing is accomplished in seconds. Removing gel polish? Smoothing a thick acrylic edge? Shaping a stubborn nail tip? The drill handles it effortlessly, saving you significant time and effort.
2. Precision Control: Manual filing relies heavily on pressure and angle, which can be inconsistent. Drills offer unparalleled control:
Adjustable Speed: Most drills have dials or buttons to control the RPM. Low speeds are gentle for delicate work near the cuticle or on thin nails; high speeds tackle tough acrylics or calluses. Think of it like having different “gears” for different tasks.
Specialized Bits: This is where drills truly shine. There are hundreds of differently shaped bits (made of materials like ceramic, carbide, or diamond grit) designed for specific jobs:
- Cones: For gentle cuticle work and cleaning the nail pocket.
- Barrels/Drums: For efficient bulk removal of gel/acrylic and smoothing large surfaces.
- Flame/Pointed: For detailed work, carving designs, or reaching tight spots.
- Sanding Bands: For fine finishing, smoothing ridges, and creating a perfect shine.
- Carbide Cutters: For quickly removing hard enhancements.
3. Smoother Results & Reduced Damage: When used correctly with the right speed and bit, drills create an incredibly smooth surface. They minimize the risk of creating micro-tears or “snags” that manual files can sometimes cause, especially on natural nails. Gentle, controlled removal also puts less stress on the nail plate itself.
4. Effortless Enhancement Handling: Removing gel polish or acrylic nails manually is notoriously tedious and can damage the natural nail underneath if scraped or filed too aggressively. A drill, especially with a coarse barrel bit, removes the bulk of the enhancement quickly and safely, leaving the natural nail largely untouched. Shaping thick acrylics or hard gels into perfect contours is also infinitely easier.
5. Reduced Fatigue: Constant manual filing can tire your hands and wrists. The drill does the hard work for you, reducing strain during longer sessions.
Who Needs a Nail Drill Machine? Ideal Nail Types & Situations
Nail drills aren’t just for salon pros! They benefit a wide range of nail types and situations:
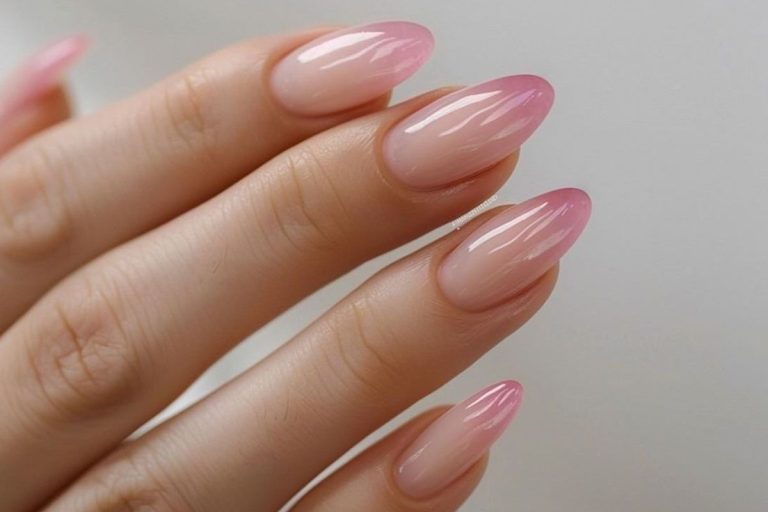
1. Natural Nails (Especially Stronger Ones):
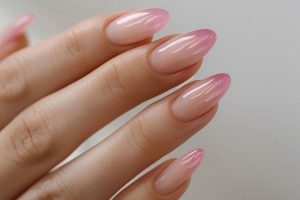
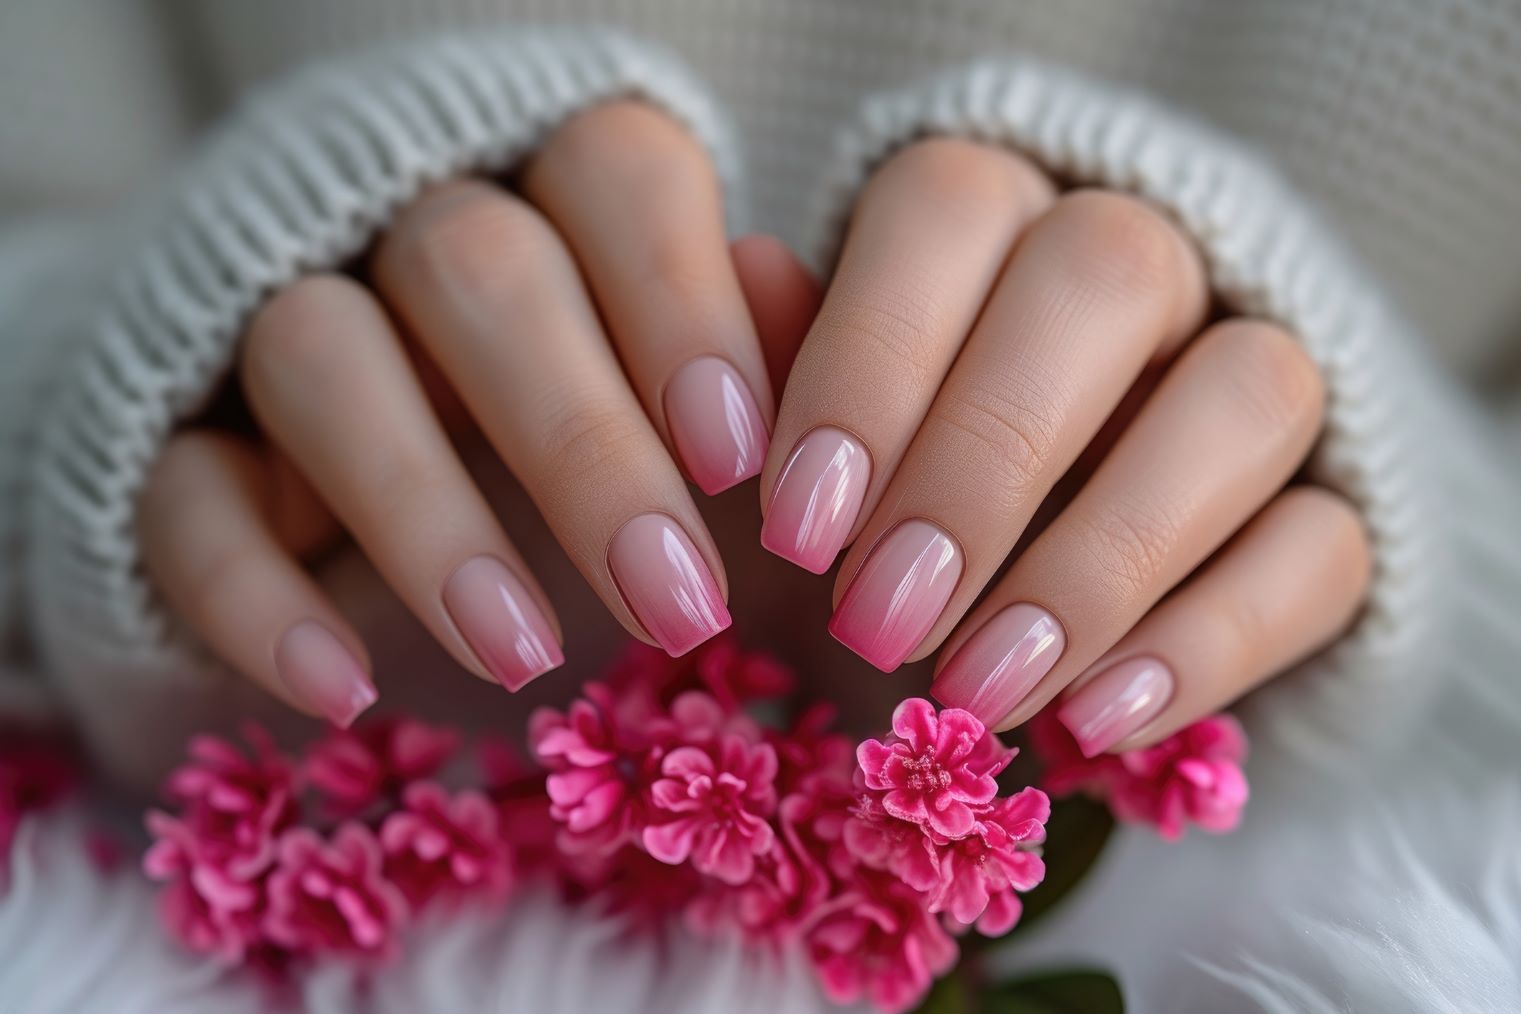
- Shaping: Achieve precise, salon-perfect shapes (square, oval, almond, coffin) quickly and evenly.
- Smoothing Ridges: Fine-grit sanding bands can gently buff away minor vertical ridges for a smoother appearance before polish.
- Length Reduction: Quickly shorten longer, strong natural nails without the risk of splitting that manual filing can sometimes cause.
- Cuticle Care (Gentle Bits Only!): With extreme caution and very low speed, specific cone bits can help gently clean excess cuticle tissue from the nail plate (pushing back first is essential!). Never use aggressive bits near the cuticle.
2. Gel Polish Wearers:
Gentle Removal: A fine-grit bit (like a sanding band) is excellent for lightly buffing off the sticky residue layer after soaking off gel polish, leaving the nail perfectly prepped for the next application. Crucially, drills also efficiently remove the bulk of the gel during soak-off prep.
3. Acrylic & Hard Gel Extension/Powder Dip Wearers:
- Essential for Application & Removal: This is where drills are practically indispensable.
- Shaping & Refining: Sculpting the perfect apex, thinning bulky areas, and creating smooth sidewalls is incredibly difficult without a drill.
- Fill Ins: Efficiently removing lifted product and thinning the existing enhancement before applying new product is key to a long-lasting fill.
- Safe Removal: Drills are the safest and most efficient way to remove the bulk of the enhancement material down close to the natural nail before final soak-off or gentle manual removal, minimizing damage.
4. Thick or Discolored Nails: Gentle filing with a drill can help manage thickness and smooth the surface. Caution: Always use low speed and fine grits, and avoid over-filing.
5. Callused Feet: Specific pedicure bits (usually coarse grit barrels) are designed to safely and effectively smooth calluses on heels and feet – a task nearly impossible with manual files alone.
Important Note: While powerful, drills require respect! Always start with LOW speed. Practice on an old tip or plastic surface before using on nails. Use gentle pressure – let the bit do the work. Avoid staying in one spot too long to prevent friction heat. Never use aggressive bits on thin natural nails or near the cuticle/skin without proper training.
Read also: The Humble Nail File: Your Secret Weapon for Perfect Nails