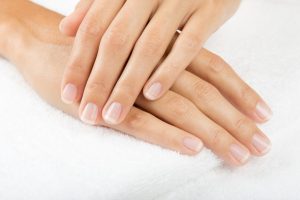

My first few DIY manicures looked great for exactly one day. Then the polish would chip at the edges, peel in sheets, or just fall off entirely. I blamed the polish, blamed the weather, blamed my nails themselves.
Then a nail technician friend watched my routine and said something humbling: “You’re doing everything right except the most important part. You’re decorating a dirty canvas.”
She was right. I was so excited to get to the color that I rushed through—or completely skipped—the preparation. And my manicures paid the price.
Here’s everything I’ve learned about nail preparation: why it matters, how to do it right, and the tools that make it possible.
Why Bother Preparing Your Nails?
Let’s start with the obvious question: why can’t you just wash your hands and start painting?
Here’s what happens on bare, unprepared nails: natural oils accumulate on the surface. Dead cuticle tissue clings to the edges. Dust and residue create bumps. Your nail plate has texture—ridges, bumps, uneven spots—that polish settles into unevenly.
When you apply polish over this surface, it’s like painting over a dusty wall. The paint might stick initially, but it won’t stay.
Proper preparation creates:
Better adhesion. Clean, slightly textured nails give polish something to grip. No oils, no residue, no slipping.
Longer wear. Every step of prep adds days to your manicure’s life. Skip one step, lose days.
Smoother application. Ridges filled, surface even, edges clean. Your polish goes on like butter.
Healthier nails. Removing dead cuticle tissue prevents hangnails and infection. Gentle buffing stimulates circulation.
The Tools You’ll Need
You don’t need much, but what you have matters:
Cuticle pusher: Metal or wooden (orangewood sticks). For gently pushing back cuticles.
Cuticle nippers: For trimming only dead, loose skin. Not for living cuticle.
Nail file: 180-240 grit for shaping. Finer is gentler.
Nail buffer: A gentle buffing block for smoothing the surface without thinning nails.
Nail dehydrator or rubbing alcohol: Removes oils and residue. Essential for adhesion.
Lint-free wipes: Regular cotton leaves fibers. Lint-free keeps the surface clean.
Cuticle remover (optional): A gel or liquid that softens cuticles for easier pushing.
Cuticle oil: For hydration after prep and during maintenance.
Bowl of warm water: For soaking if you prefer wet cuticle work.
Step-by-Step: How to Prepare Your Nails
Here’s the method I’ve refined through years of trial and error:
Step 1: Remove Old Polish Completely
Start fresh. Use acetone or non-acetone remover to strip every trace of old color. Check edges and corners—hidden residue causes lumpy new application.
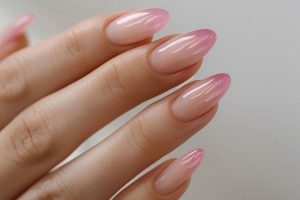
Step 2: Shape Your Nails
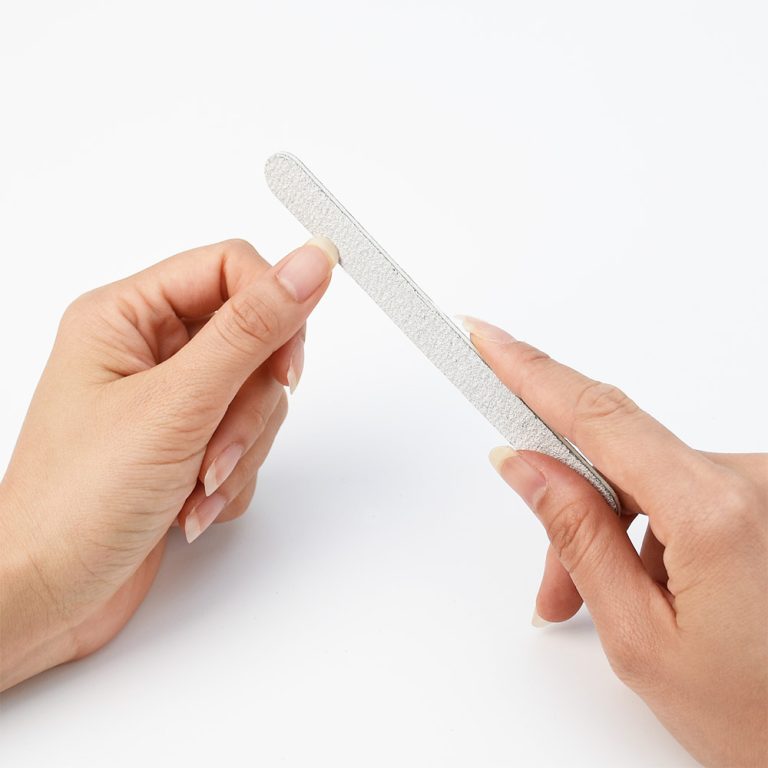
File your nails to your desired shape before anything else. Why first? Because filing creates dust, and you’ll clean that dust off later.
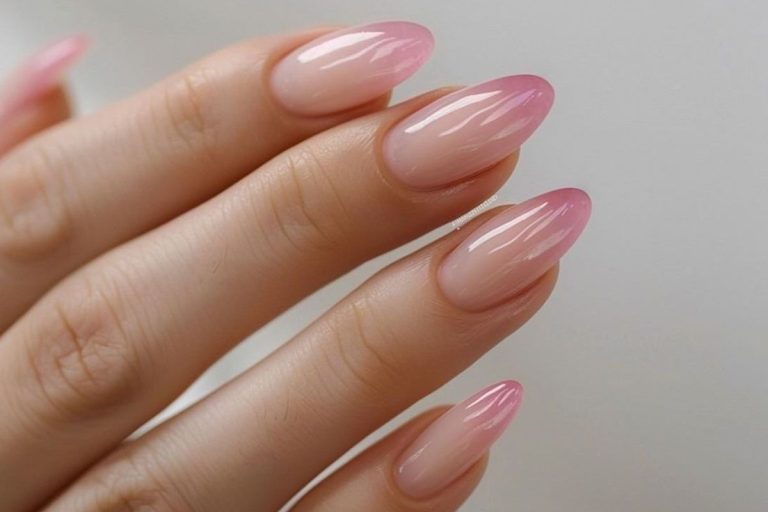
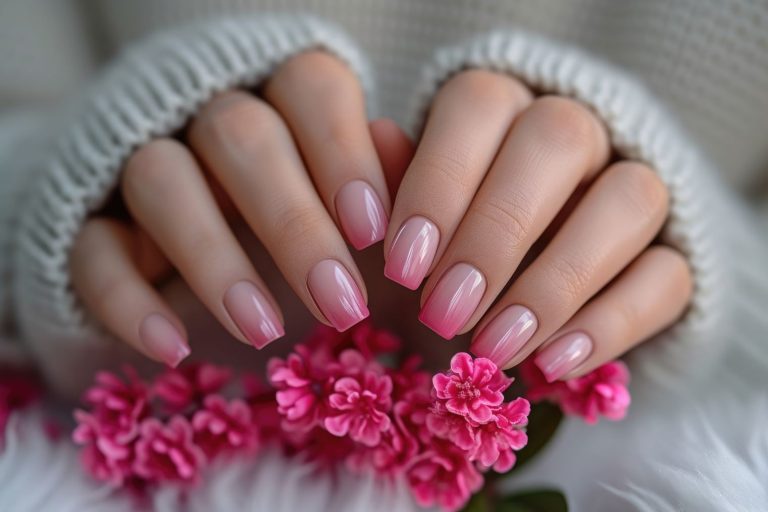
File in one direction only—from edge to center. Sawing back and forth weakens nails and causes peeling. Choose your shape: square, oval, almond, or round. Match your nail bed shape and lifestyle.
Pro tip: File when nails are completely dry. Wet nails are soft and tear rather than cut cleanly.
Step 3: Tend to Cuticles
This step has nuance. Here’s the right way:
If cuticles are dry and tough, apply cuticle remover gel or soak fingertips in warm water for 3-5 minutes. This softens the tissue.
Using your cuticle pusher, gently push back the softened cuticles. The tool should glide—if you’re forcing it, soak longer. Push at a 45-degree angle, working from the center of the nail outward.
Here’s the golden rule: only trim what’s truly dead. If skin lifts away easily and is clearly detached, you can snip it with nippers. If it’s attached and living, leave it alone. Cutting living cuticle causes infection, bleeding, and tougher regrowth.
Never cut your proximal fold—the living skin at the base of your nail. That’s not cuticle; that’s living tissue.
Step 4: Clean Under the Nails
Use the pointed end of your cuticle pusher or a clean orangewood stick to gently remove debris from under the free edge. Be gentle—scratching the underside damages the nail bed.
Step 5: Buff the Surface
Lightly buff the nail plate to remove shine and smooth minor ridges. Here’s the critical warning: gentle passes only. You’re not sanding wood. Two or three light swipes across each nail is plenty.
Over-buffing thins your nails, making them weak and prone to peeling. The goal is texture for adhesion, not removing layers.
Step 6: Cleanse Thoroughly
This is the step everyone skips. Using a lint-free wipe soaked in rubbing alcohol or nail dehydrator, wipe every nail meticulously. You’re removing:
- Natural oils that repel polish
- Dust from filing and buffing
- Any residue from cuticle remover
- Skin cells clinging to the surface
After cleansing, don’t touch your nails. Finger oils transfer instantly. Keep your hands still until you’re ready for base coat.
Step 7: Apply Base Coat Immediately
Don’t wait. The window between cleansing and applying is short. Oils start reforming immediately. Get that base coat on within minutes.
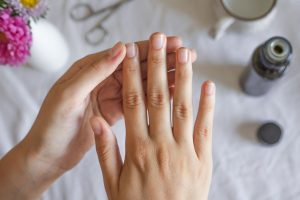
How to Properly Care for Cuticles Between Manicures?
Cuticle care isn’t just for manicure day. Daily maintenance makes future prep easier:
Oil daily. Cuticle oil isn’t optional. Apply morning and night. Jojoba oil mimics your skin’s natural sebum and absorbs beautifully. Healthy cuticles push back easily and rarely need trimming.
Push, don’t cut. In the shower or after washing hands, gently push back cuticles with a towel or your fingertip. Regular gentle pushing prevents overgrowth.
Moisturize hands. Hand cream every time you wash. Dry skin leads to ragged cuticles.
Don’t bite or pick. We all do it when stressed. Stop. Picking creates tears that become hangnails and infections.
Use cuticle remover weekly. If your cuticles grow fast, a weekly application of cuticle remover gel keeps them manageable.
Common Preparation Mistakes
Skipping the cleanse. The most common error. Oily nails reject polish every time.
Over-buffing. Thin, weak nails that burn when you apply polish? You buffed too much.
Cutting living tissue. If it bleeds, you cut too deep. Stop. Let it heal. Next time, push only.
Filing wet nails. Wet nails tear and peel. Always file dry.
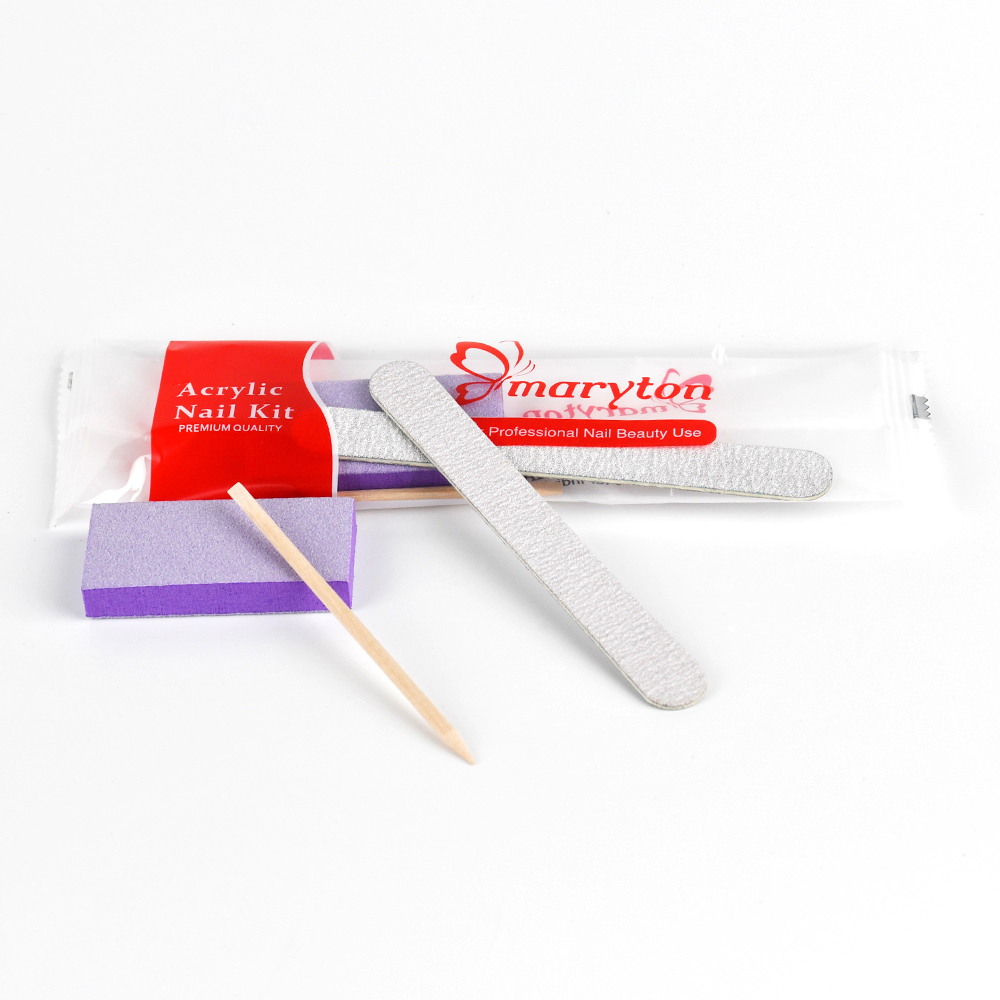
Using dirty tools. Cuticle pushers and nippers need cleaning. Wipe with alcohol after each use. A disposable manicure kit would be a good choice.
Rushing the process. Prep takes time. Fifteen minutes minimum. Rushing guarantees failure.
Skipping cuticle oil after prep. Your nails just went through mechanical and chemical processes. They need moisture.
How Long Should Prep Take?
A thorough preparation takes 15-20 minutes for both hands. Here’s a rough breakdown:
- Removal: 3-5 minutes
- Shaping: 3-5 minutes
- Cuticle work: 5-7 minutes
- Buffing: 2 minutes
- Cleansing: 2 minutes
That’s 15-20 minutes before you even open your base coat. Worth every second when your manicure lasts two weeks instead of two days.
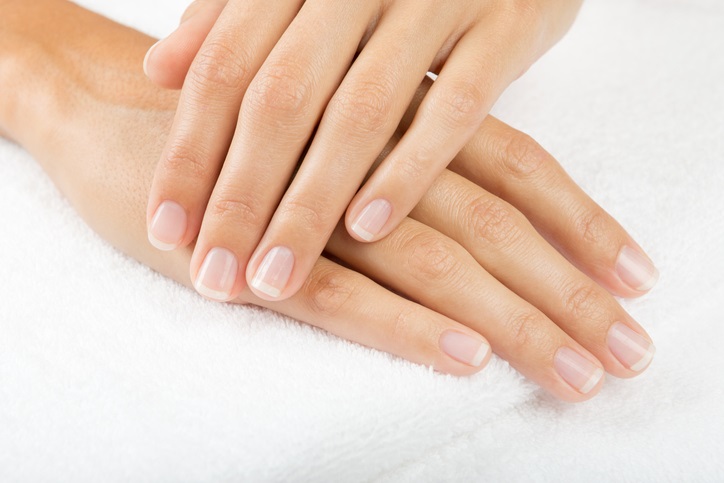
The Bottom Line
Nail preparation isn’t optional. It’s the foundation of everything that follows. You can buy the most expensive polish, own the best lamp, and have steady hands—but if you skip prep, your manicure will fail.
Think of it this way: you wouldn’t paint a room without cleaning the walls, filling the holes, and taping the edges. Your nails deserve the same respect.
Take the time. Do it right. Your manicures will last longer, look better, and your nails will be healthier for it.
Read also: Nail Care 101: Your Guide to Healthy, Beautiful Nails at Home