
Artificial nails have become a staple of modern beauty, offering length, strength, and intricate designs that natural nails often cannot support. Whether you choose acrylics, gels, or press-ons, these enhancements provide a reliable way to maintain a polished look. However, the removal process is just as important as the application. Improper removal can leave your natural nails thin, weak, and damaged. Here is everything you need to know about safely removing artificial nails and caring for your natural nails afterward.
Why People Choose Artificial Nails?
Artificial nails offer a range of benefits that make them a popular choice. They provide length that natural nails cannot achieve, strength for those with brittle or peeling nails, and endless design possibilities that allow for creative expression. For many, artificial nails are a way to maintain a polished, put-together look without the daily upkeep of natural nails.
Types of Artificial Nails
Acrylic nails. Formed by mixing a liquid monomer with a powder polymer. They harden in air and are extremely strong and durable. Acrylics must be filed off or soaked in acetone for removal. They are a go-to for dramatic length and shape.
Hard gel nails. Pre-mixed gel that is cured under a UV/LED lamp. Hard gel is rigid and durable. It cannot be soaked off; it must be filed off. Hard gel is ideal for clients who want a natural, glossy appearance.
Soft gel nails (gel polish). Cured under a lamp but more flexible than hard gel. Soft gel can be soaked off with acetone. It is the most common type for gel manicures.
Polygel. A hybrid of acrylic and gel, cured under a lamp. Polygel is lightweight, flexible, and can be soaked off with acetone. It is a popular choice for its ease of application and durability.
Dip powder nails. Powder and adhesive layers that harden without a lamp. Dip powder can be soaked off with acetone. It is known for its strength and chip-resistant finish.
Press-on nails. Pre-formed nails applied with adhesive tabs or glue. They can be removed by soaking in warm, soapy water or using oil to loosen the adhesive. They are the most temporary option.
The Acetone Soak Method
The acetone soak is the most effective method for removing acrylics, soft gels, polygel, and dip powder nails. Here is a detailed guide.
Before You Begin
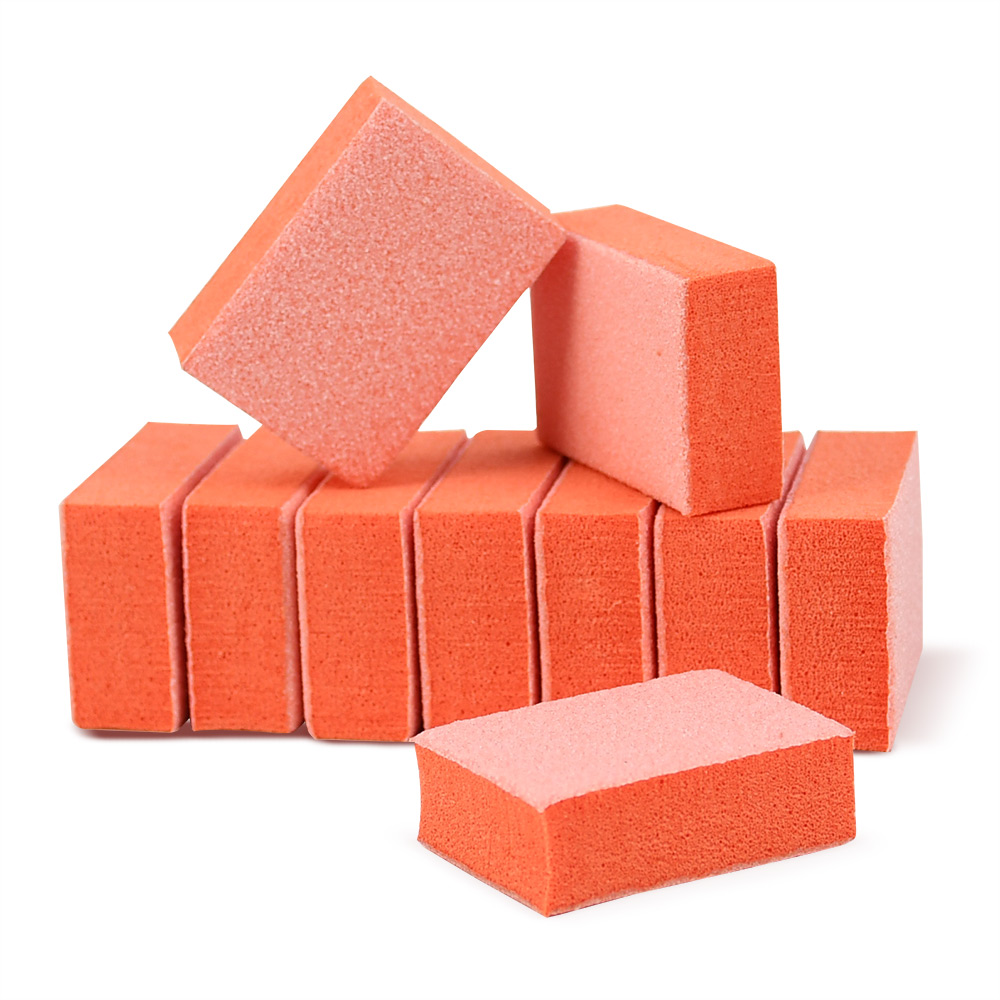
Gather your supplies. 100% pure acetone, cotton balls or pads, aluminium foil, a nail file (180-grit), a wooden cuticle pusher, a buffer block, and cuticle oil. A bowl of warm water and a towel may also be helpful.
File the top coat. Using a coarse file, gently buff the shiny top coat off each nail. This breaks the seal and allows the acetone to penetrate. This step is crucial—without it, the acetone will not be able to break down the product effectively.
Protect your skin. Apply a thin layer of petroleum jelly around your nails to protect your skin from the drying effects of acetone.
The Soaking Process
Saturate the cotton. Soak a cotton ball with pure acetone. It should be wet but not dripping.
Place and wrap. Place the cotton on your nail and wrap your fingertip tightly with aluminium foil. The foil holds the cotton in place and traps heat, which speeds up the dissolving process. The heat also helps the acetone work more effectively.
Wait. Leave the wraps on for 10-15 minutes. Do not peek—unwrapping early releases acetone vapour and slows the process. Use this time to relax.
Check. Unwrap one finger. The artificial nail should look soft and cracked. Using a wooden cuticle pusher, gently push the softened product from the cuticle toward the free edge. It should slide off easily. If it resists, rewrap and wait another 5 minutes.
Never scrape. If the product does not come off, you have not waited long enough. Scraping damages the natural nail. Patience is key.
Buff and smooth. Once all product is removed, lightly buff the nail surface with a mini sanding band.
Aftercare
Hydrate immediately. Acetone is extremely drying. Apply cuticle oil generously to each nail and massage it in. Follow with a rich hand cream. This step is non-negotiable for maintaining nail health.
Give your nails a break. Wait at least 24-48 hours before applying a new set. This allows the nail plate to rehydrate fully.
Keep nails short. Freshly exposed nails are more fragile. Keep them trimmed while they recover.
-1024x1024.jpg)
Use a nail strengthener. A keratin-based or calcium-based strengthener can provide temporary support.
Non-Acetone Alternatives
If you want to avoid acetone, there are a few alternatives, though they are less effective for strong adhesives.
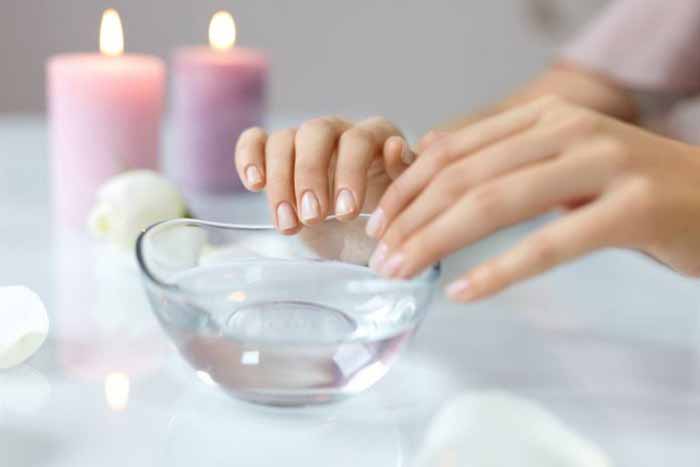
Hot water and soap method (for press-ons). Fill a bowl with warm water and a few drops of mild soap. Soak your nails for 10-15 minutes. The adhesive tabs will soften. Gently lift the edge of the press-on with a wooden stick and peel it off. This method works best for press-ons with adhesive tabs, not for glue-on nails.
Olive oil or cuticle oil method. Apply a generous amount of oil around the edges of the artificial nail. Let it sit for 5-10 minutes. The oil helps break down the adhesive. Gently lift the edge with a wooden stick. This method works best for press-ons with adhesive tabs and may need to be repeated.
Warm water and oil soak. Mix warm water with a few drops of olive or cuticle oil. Soak for 10-15 minutes. The oil helps break down the adhesive. This method is best for press-ons with light glue.
Transitioning Back to Natural Nails
After removing your artificial nails, your natural nails may feel thin or weak. Here is how to help them recover.
Keep them short. Short nails are less prone to breakage. Keep them trimmed while they regain strength.
Hydrate daily. Apply cuticle oil and hand cream several times a day. Nails need moisture to recover from the drying effects of acetone.
Use a nail strengthener. A keratin-based strengthener provides temporary support.
Eat a balanced diet. Nails are made of keratin—a protein. Include lean meats, eggs, fish, beans, and legumes in your diet. Biotin, iron, and zinc are also essential for nail health.
Be patient. Nails take 4-6 months to fully replace themselves. Consistent care will restore their strength.
Take breaks from enhancements. Give your nails a break for a few weeks before applying a new set.
The Bottom Line
Removing artificial nails is a process that requires patience and the right technique. The acetone soak is the most effective method for acrylics, gels, polygel, and dip powder. For press-ons, warm water and oil are gentler alternatives. Never peel or pry—this damages your natural nails. After removal, focus on hydration and give your nails a break before applying a new set. With proper care, your natural nails will stay healthy and strong.
